Landscape Light Installation Things To Know Before You Buy
Landscape Light Installation Things To Know Before You Buy
Blog Article
The Buzz on Landscape Light Installation
Table of ContentsHow Landscape Light Installation can Save You Time, Stress, and Money.Fascination About Landscape Light InstallationSome Of Landscape Light InstallationLandscape Light Installation Things To Know Before You Get ThisThe Greatest Guide To Landscape Light InstallationSome Known Details About Landscape Light Installation
So without any major electric experience I took place the quest for very easy to install reduced voltage landscape lights. That suggested no electrical wiring or small building. Roger had his questions however silently (well, practically quietly) he enjoyed from the sidelines. Reduced voltage landscape lights are powered via a transformer, that attaches to the wire, that lowers the voltage from routine 120 volts to 12 volts.I always thought I would certainly have to dig ditches and run all type of cables however the reduced voltage outside spotlights that I located were so easy to install. Thirty minutes was all it required to give our home a wonderful glow during the night. I bought 2 of these light sets for the front of our house.
I most likely could have gotten by with fewer lights yet the 4 light set was the smallest one offered. After I tightened down my selections I browsed for lights that had excellent evaluations.
The concept was to place three on either side of the front veranda. I figured that that would certainly be sufficient. When I obtained them and laid the lights out I knew the 3 and 3 setup would not function. Despite the fact that I obtained a whole lot of cord with the set, I would certainly have needed to dig under the sidewalk in order to conceal the wire.
The Facts About Landscape Light Installation Uncovered
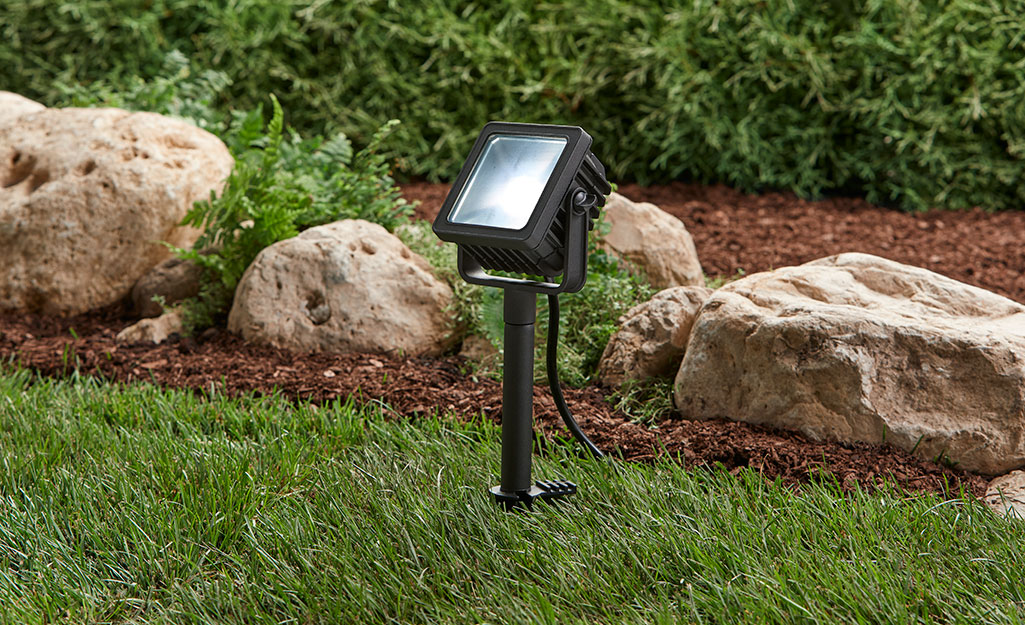
As soon as the cables were buried I connected the limelights right into my outdoor expansion cord, that is connected in to an electrical outlet on the home. To make things also much easier I also made use of a timer. Now the landscape lights activate and off automatically at established times each night. As soon as the sun set and my lights transformed on I went outside and modified them to strike the front of your home.
Like I stated, the tiniest set I might get was 4 lights so that's what I got. Once they arrived I installed them adhering to the same actions as the very first collection of lights.
Rumored Buzz on Landscape Light Installation
He would not confess that I was appropriate butI was (Landscape Light Installation).
# 10 gauge outdoor cord # 12 gauge outside wire 1-1/2 in. x 12-in. PVC pipe 1-1/2-in. PVC cap with -in. female string -in. copper pipeline For each and every ground light: 1-1/2-in. pop over to this site PVC coupler with -in. tee for cord opening Lights One box of weatherproof cord adapters Transformer 2 -in. sweat-to string copper adapters Extension ladder Yard rake Level Posthole digger Shatterproof glass Voltage tester Cord stripper/cutter Wrench setvolt me Volt meter A yard spade Light weight aluminum tent stakes.
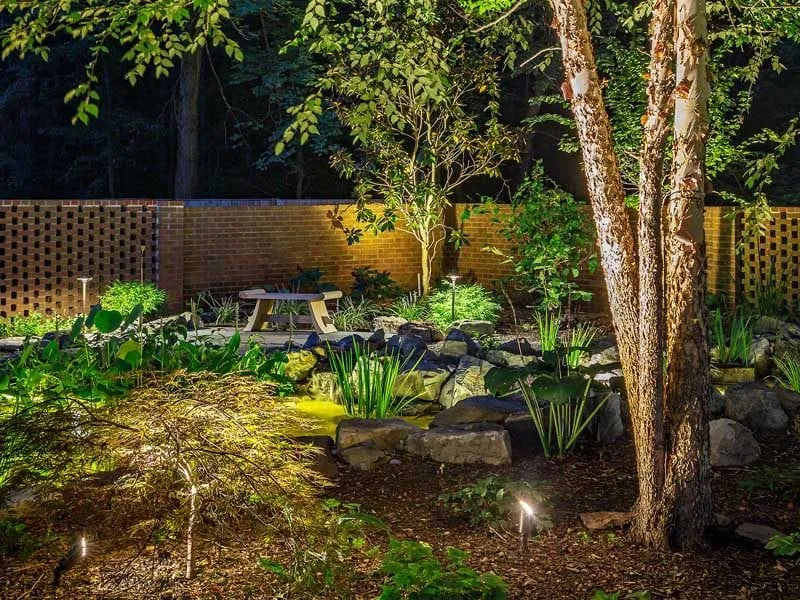
Mount lights where they will not be easily harmed by rakes or shovels. Bear in mind, too, that the plants you illuminate will go through seasonal changes. Not all plants must be evergreens, some plants such as hydrangea, dogwoods and sumac are fascinating brightened also when leafless. As soon as you have your materials, your tools and your strategy, it's time to call 811.
It's a complimentary service and you'll avoid dangerous and pricey surprises. Use 10-gauge cord for the major lines from the transformer to where the lights begin, then switch over to 12-gauge cable between the lights. To bury the cords where they cross the lawn, make use of a flat-nosed shovel to reduce a slot and fold back the turf.
The 7-Minute Rule for Landscape Light Installation
Using the PVC pipe, construct and hide a footer that will house the cable links and support your post expansions (suggested to be constructed from 1/2- inch copper pipe). Attach the wires with weatherproof cable adapters. These cable connectors have a guard under and a ball of sealant inside that make them view it now weatherproof.
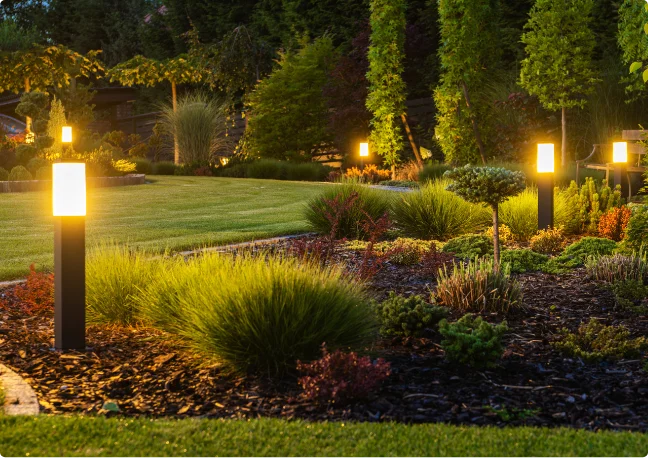
Having a solid strategy concerning landscape lights is more crucial than you could think of. Effectively illuminating areas in your backyard and your home throughout the night not just gives a fantastic sight of your house but can likewise hinder potential vandals or robbers. If you're uncertain where to begin with landscaping lights, you're in the best location! Below is our convenient outdoor lighting guide, where we will certainly go through where to position landscape lighting, what kinds of lights to utilize, and exactly how to use light for the very best impact.
The Ultimate Guide To Landscape Light Installation
It's a totally free solution and you'll prevent hazardous and costly shocks. Usage 10-gauge cord for the major lines from the transformer to where the lights begin, then switch over to 12-gauge wire in between the lights. To bury the wires where they go across the lawn, make use of a flat-nosed shovel to reduce a port and fold back the sod.
Because the transformer will constantly be plugged in, you need to change the typical electrical outlet cover with an in-use weatherproof cover, offered at the majority of significant home improvement facilities and hardware shops. The ground stakes that feature most see this vertical lights fixtures are not strong enough (or go deep adequate) to maintain them great and straight over time with transforming soil problems, disintegration, etc.
Utilizing the PVC pipeline, construct and bury a footer that will certainly house the cable links and support your post extensions (advised to be made from 1/2- inch copper pipeline). Attach the cables with weatherproof cord connectors. These cord connectors have a guard on the bottom and a blob of sealer inside that make them weatherproof.
Landscape Light Installation Fundamentals Explained
If you're not certain where to start with landscaping lights, you're in the right location! Right here is our helpful outside lighting overview, where we will certainly walk through where to place landscape lighting, what types of lights to make use of, and just how to utilize light for the finest impact - Landscape Light Installation.
Report this page